Ready, set, bake! If you’re looking for a fun project to do with your kids for the holidays, THIS IS IT. The process is super easy – just mix up three ingredients, bake, and decorate.
After all the fun is over you have a sweet keepsake for your tree . . . and possibly a thoughtful homemade gift for the grandparents, too.
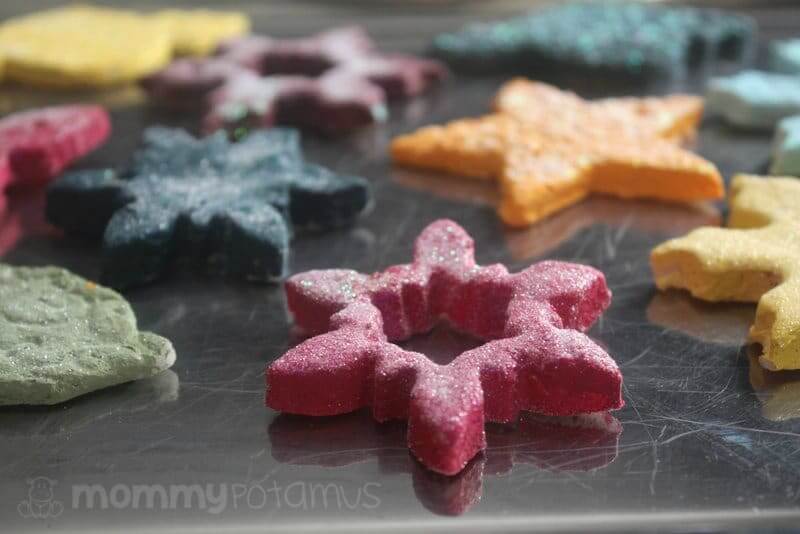
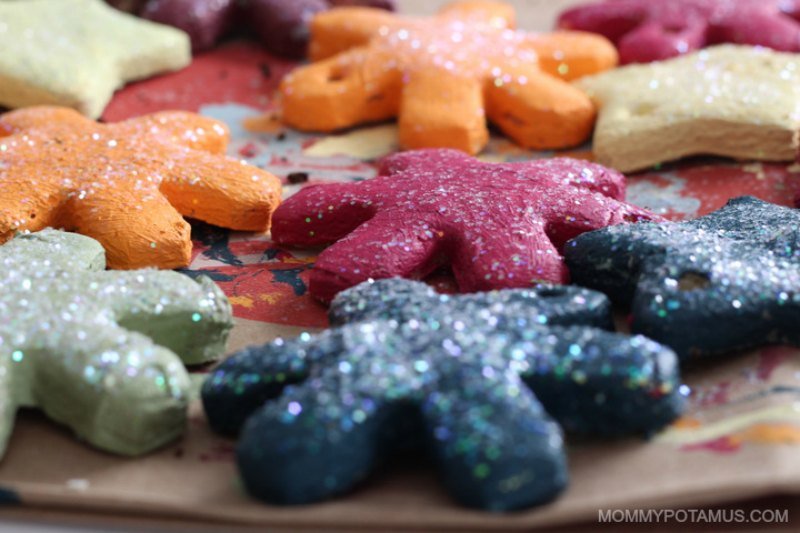
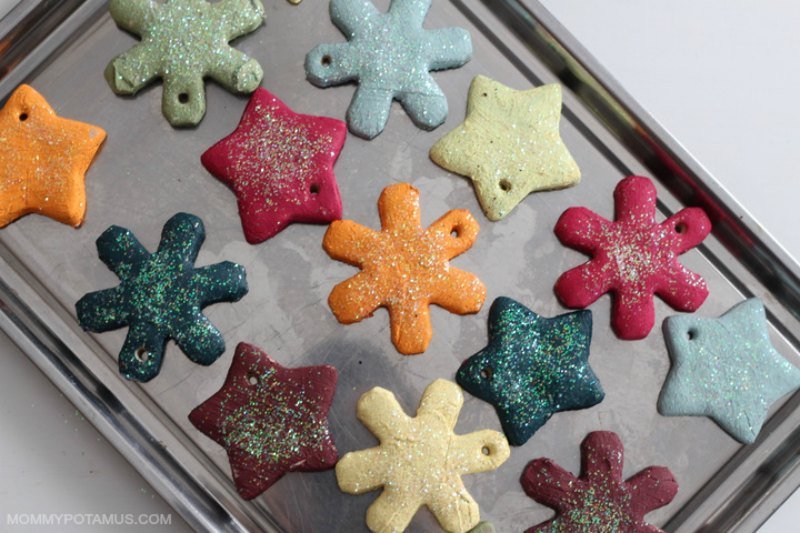
Now, if you’ve seen pictures of my home on Instagram you may have noticed I like bright colors. My Christmas tree is no exception, but these would be beautiful with more traditional colors, too.
Below you’ll find:
- A video my daughter and I filmed last year while making our ornaments
- Written step-by-step instructions and photos from a previous year
- Answers to the most common questions I’ve received since first posting this tutorial years ago
Oh, and this is important: I highly recommend whipping up a batch of homemade egg nog or hot chocolate while you work – it makes the the whole experience even more fun.
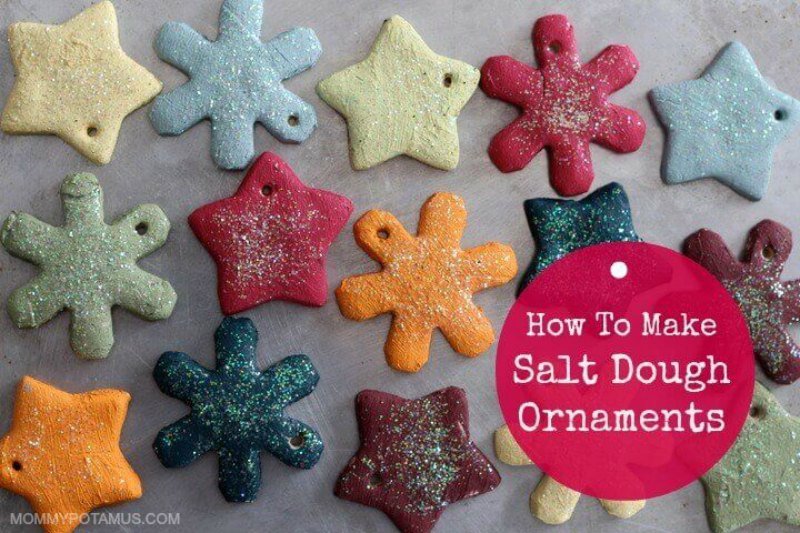
How To Make Salt Dough Ornaments (VIDEO)
Although my family is gluten-free, we are able to touch wheat without problems. For that reason I often use this recipe instead of my gluten-free salt dough ornaments.
Although still super simple, the gluten-free version requires heating twice – once on the stovetop to thicken the dough and once in the oven to bake the ornaments. With the recipe in this article, you can skip thickening the dough and just bake the ornaments. Here’s an overview of the process.
Oh, and if you need more ideas for under the tree, I’ve put together 100+ gift ideas for everyone on your list.
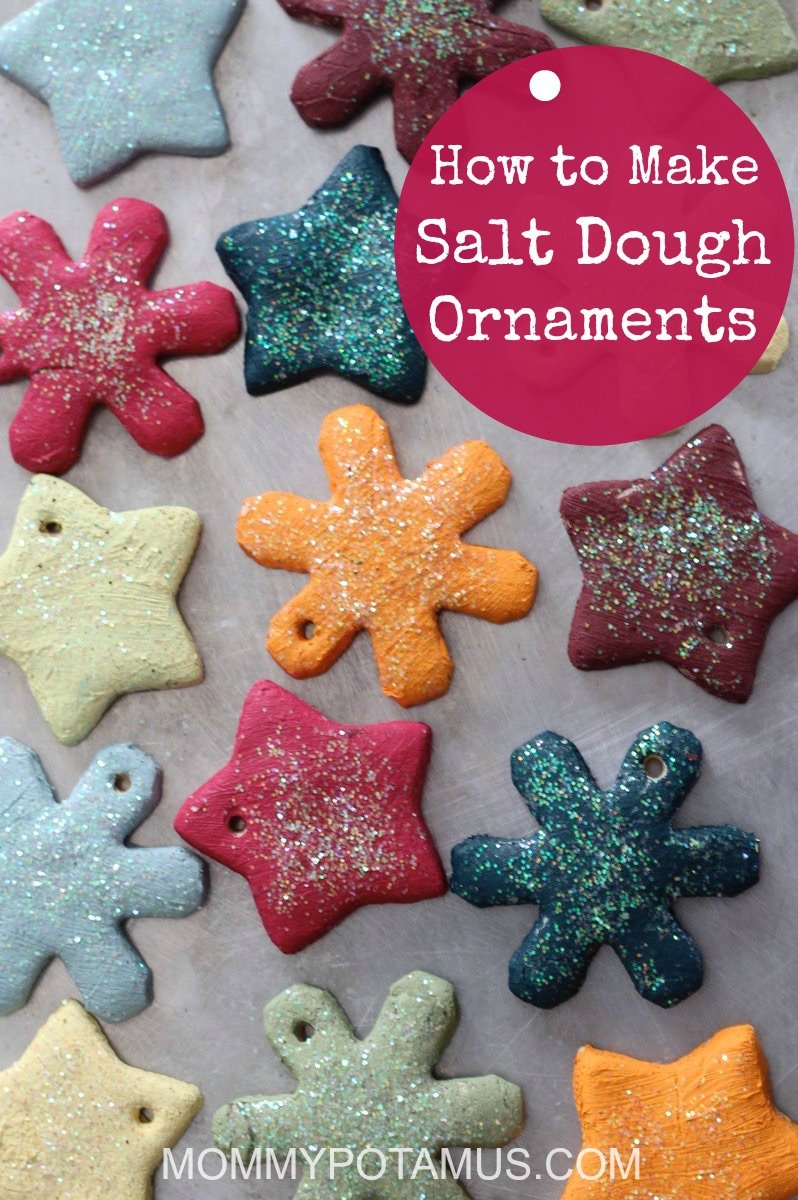
How To Make Salt Dough Ornaments (Step-By-Step Photo Instructions)
When the photos below were taken, my then six year-old was able to do everything on her own except the baking, and my four year-old only needed help a few times. When they were smaller I gave them a little more guidance but mostly let them figure things out on their own.
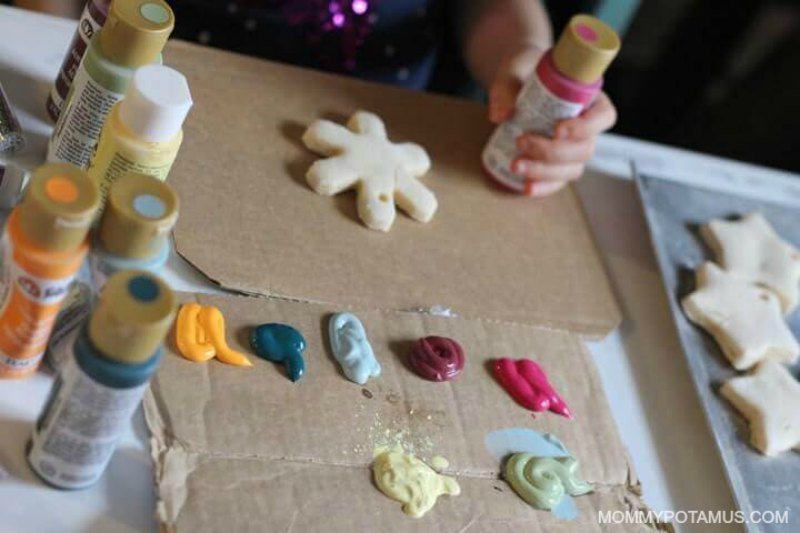
When a particular ornament didn’t turn out like they wanted – they didn’t love the color after all or the brush strokes look messy – I found that handing them the glitter usually resolved the issue. With that in mind, here’s the step-by-step process:

Step 1: Preheat oven to 225F. Measure flour and salt, then add them to a medium mixing bowl and stir.
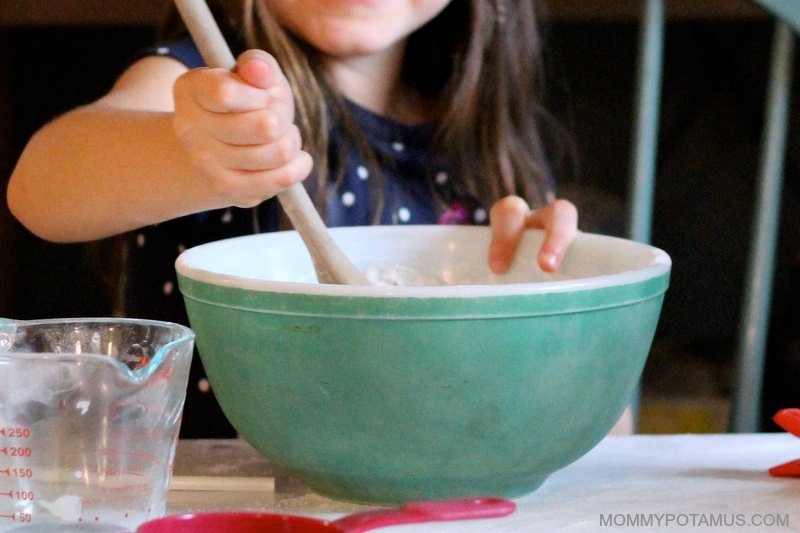
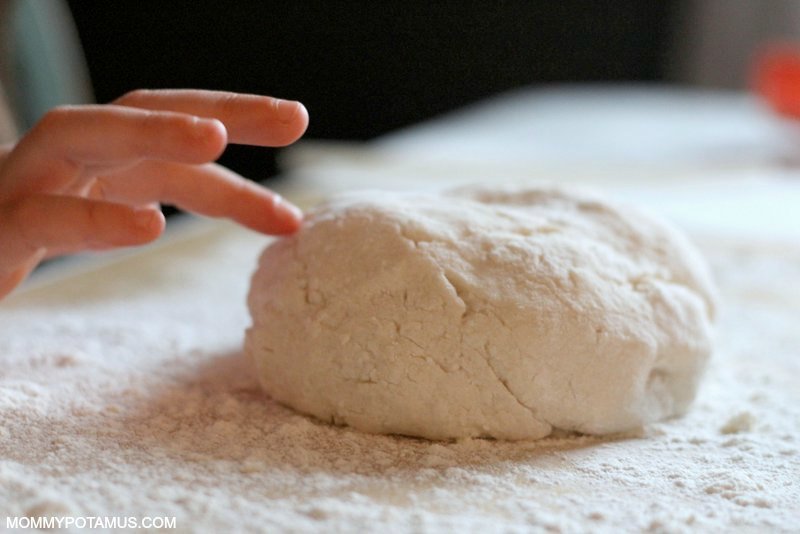
Step 2: Add water and knead the dough.
Measure out your water and add it to the bowl, then mix until everything is well combined.
Place parchment paper on your work surface and sprinkle it with flour. Set the dough on the parchment paper and knead it until it’s soft and pliable. (Tip: If your dough is super sticky, add more flour.)
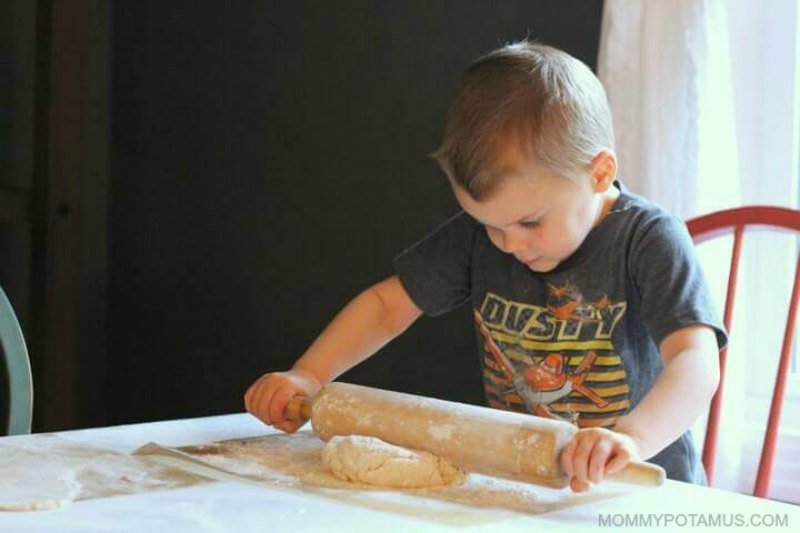
Step 3: Using a lightly floured rolling pin, roll out the dough to 1/4 inch thickness.
Tip: Only roll the dough in one direction. Rolling back and forth can create air pockets that cause the ornaments to puff up while baking.
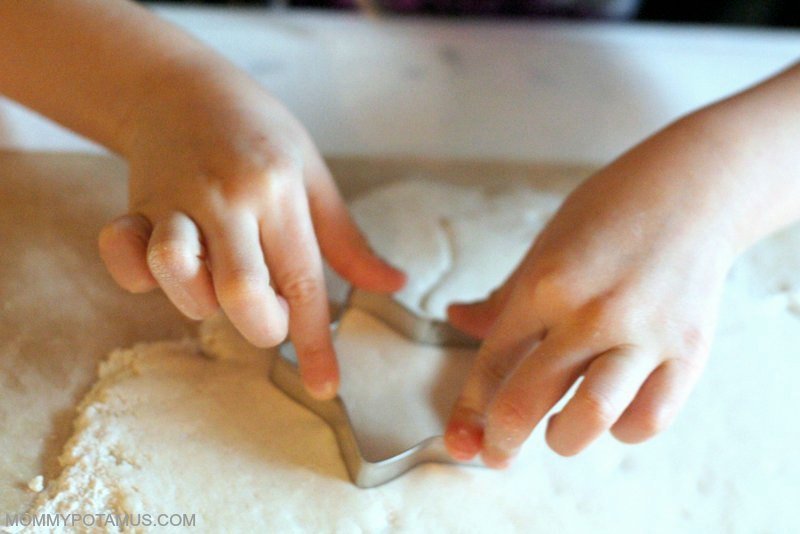
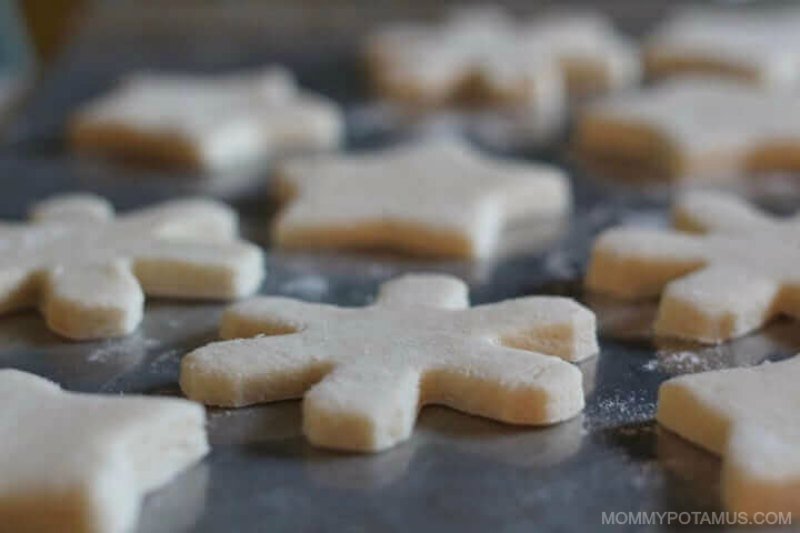
Step 4: Cut out ornaments using cookie cutters.
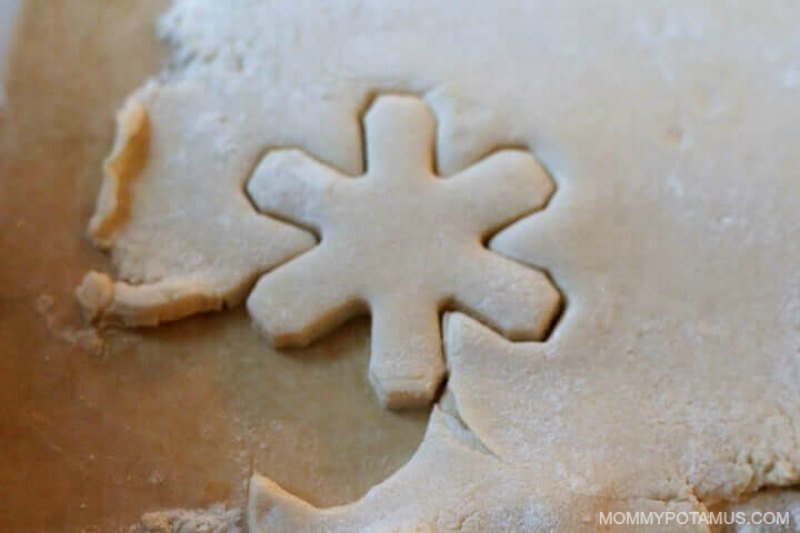
Step 5: Peel away the dough and lift the cutout.
Step 6: Place the cutout on a cookie sheet lined with parchment paper.
As you can see in the photo, I didn’t do that. However, some readers have reported their ornaments stuck to the cookie sheet, so now I recommend lining with parchment paper just in case.
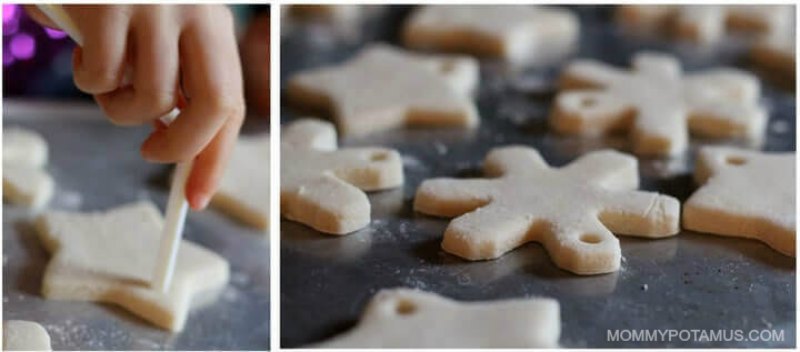
Step 7: Create a hole for the twine that will hang the ornament.
Using a straw, create a hole for the twine that will hang the ornament. Place the ornaments in the oven and bake for two to three hours, or until completely dry. Flip once while baking, then remove the ornaments from the oven and allow to cool completely.
Step 9: Bake
Place the ornaments in the oven and bake for two to three hours, or until completely dry. Flip once while baking, then remove the ornaments from the oven and allow to cool completely.
Step 8: When the ornaments have cooled, decorate them with paints and/or glitter if desired.
Optional step: Seal ornaments with three to four thin coats of non-toxic acrylic varnish after the decorative paint has fully dried.
If you want your ornaments to last for years and years, make sure to coat the entire surface with acrylic varnish to prevent moisture from getting in.
Step 9; Snap a selfie, because while you **may** have managed to prevent your preschooler from painting the kitchen table, you did not prevent him from painting you.


Frequently Asked Questions
It depends on the size of the cookie cutters. Personally, I’ve found that one batch makes enough for all three of my kids to decorate to their hearts content.
I’ve never experienced this issue but a few of you have mentioned it over the years. Fortunately, thanks to a comment from Carrie, I think we’ve solved the issue. According to her experience rolling dough for gingerbread houses, it’s important to only roll the dough in one direction because rolling back and forth can create large, flat air pockets that cause the dough to puff up.
I used it to make a handprint with my littlest was a baby and it worked beautifully, but some people have reported that their handprints lost some of their shape while baking. This may be because handprints are thicker and potentially more prone to air pockets. My suggestion would be to bake at a lower temperature (170F – 190F) for a longer period of time to help them cure more slowly and hopefully keep their shape.
Salt Dough Ornament Recipe
Equipment
- Cookie sheet (This stainless steel one is an investment but is my go-to for all baking. Unlike other ones I've had that have become warped or corroded, it's still like new years after I bought it)
- Drinking straw
- Holiday shaped cookie cutters
- Paintbrush
Ingredients
- 1 cup all-purpose flour (self-rising flour should not be used as it will cause the ornaments to bubble up while baking)
- ½ cup salt
- ½ cup water (or more as needed)
- acrylic paints
- glitter (optional)
- twine (for hanging the ornaments)
- non-toxic acrylic varnish for sealing the ornaments (optional)
Instructions
- Preheat your oven to 225F. Add the flour and salt to a medium mixing bowl and stir.
- Add the water to the mixing bowl and stir until everything is well-combined.
- Place a sheet of parchment paper on your work surface and sprinkle it with flour. Knead the dough until it’s soft and pliable. If your dough is super sticky, add more flour.
- Using a lightly floured rolling pin, roll out the dough to 1/4 inch thickness. Only roll the dough in one direction, because rolling back and forth can create air pockets that cause the ornaments to puff up while baking.
- Cut out ornaments using cookie cutters. Peel away the dough and lift the cutout. Place it on a cookie sheet lined with parchment paper.
- Using a straw, create a hole for the twine that will hang the ornament. Place the ornaments in the oven and bake for two to three hours, or until completely dry. Flip once while baking, then remove the ornaments from the oven and allow to cool completely.
- When the ornaments have cooled, decorate them with paints and/or glitter if desired. If you want your ornaments to last for years and years, seal them with three to four thin coats of non-toxic acrylic varnish after the decorative paint has fully dried. Make sure to coat the entire surface to prevent moisture from getting in.
Video
Looking for more fun projects?

We made these yarn ball ornaments a few years ago. They’re one of our favorites to hang on the tree!

This fun, easy play dough recipe uses stuff you probably already have in your fridge/pantry, and there’s a gluten-free option at the bottom for those who need it.
It’s squishy yet crumbly. You can mold with it or smash it to smithereens. What is it? MOON SAND! If you haven’t heard of it, here’s what you need to know: Kids love it, and you can make it in under 10 minutes from stuff you already have in your pantry. Here’s how.