Note From Mommypotamus: Today the Potami clan is celebrating Micah’s birthday at the BEACH. While we’re building sandcastles and chasing seagulls, Craig from Fearless Eating is sharing a recipe that is a favorite with kids of all ages – homemade raspberry soda. Thank you for stopping by today, Craig!
I’ve Been On A Soda-Making Roll Lately
Considering I’m a Nutritional Therapist who is very anti-sugar, this may sound somewhat surprising. After all, everybody knows soda is bad for them, full of high fructose corn syrup, artificial colorings and preservatives, right?
Well, not this raspberry soda recipe.
And that’s because I’m using real raspberries and the art of lacto-fermentation. Traditionally, lacto-fermented sodas were made from the roots and leaves plants. For example, root beer was made from the roots of the sassafras plant and ginger ale was made from ginger (a root), of course.
But you could also use fruit as well. In fact, it’s quite a bit easier. And yes, you can substitute almost any fruit in place of the raspberries. This summer I’ve made lacto-fermented blueberry soda, watermelon soda, blackberry soda and now this raspberry soda, all from local, organic fruit. Next week I’ll be trying my hand at grape soda and I’ll be using the concord grapes that grow wild here in New England.
The Health Benefits of Fermented Raspberry Soda
Now as far as lacto-fermentation goes, unlike commercial sodas, lacto-fermented sodas contain enzymes, probiotics and get this… actual nutrients. Furthermore, lacto-fermented sodas contain considerably less sugar as the bacteria feed on and convert them during fermentation. So the longer you let them ferment, the less sugar they’ll contain. You’ll also notice this if you let them sit in your fridge for a while. But real lacto-fermented sodas are so delicious and refreshing that I’d bet they won’t last very long at all, especially if you have kids.
Kids will also love making them. In fact, I think this is a great way to get kids interested in fermentation. Look at it as a little science experiment in your kitchen. Even if it’s your first time doing it, convey a sense of enthusiasm and mystery to the process. Their natural sense of wonder and curiosity will be fun to observe as the soda starts to bubble and fizz.
And that’s another cool thing about making soda at home. Because unlike commercial sodas that have carbonation added to them, the carbonation in lacto-fermented sodas is simply a natural byproduct of the fermentation process.
Enjoy, But Open Carefully
Finally, one last note. Once you transfer the soda to the soda bottles, both the carbonation and pressure inside the bottles will rapidly increase, so much so that you have to be careful when you open them for the first time!
I learned the hard way and ruined a good shirt as the soda shot up and fizzed all over the place. So please be sure to open the bottles every day to let out the gasses that build up. Once you’ve opened them a few times the pressure will decrease as will the rate of fermentation when you transfer them to the fridge.

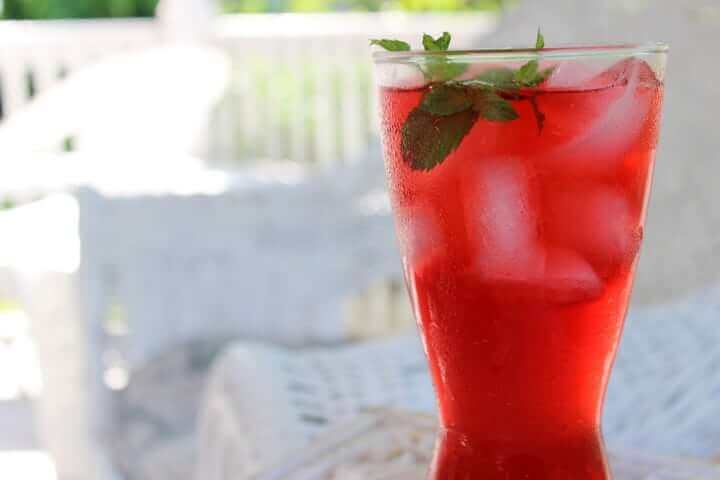
Lacto-fermented Raspberry Soda
How to Make Lacto-Fermented Raspberry Soda
Ingredients
- 4 cups organic raspberries
- 1 cup organic cane sugar (dehydrated cane juice or sucanat)
- ½ cup whey
- 2 qts filtered water
Instructions
- Simmer raspberries and sugar in water for about 20 -30 minutes
- Cool to room temperature and strain out raspberries
- Transfer what’s now essentially sugary raspberry juice to a 2 quart glass ball jar or demijohn.
- Add whey and let it ferment for at least 3 days. Look for visible signs of fermentation via a slight fizziness. You can let it go longer for a less sweet soda as the bacteria will continue to feed on the sugars and convert them. Taste the soda as you go to get the sweetness you desire.
Nutrition
Note: You don’t have to use whey. Other options for starter cultures include a ginger bug, champagne yeast or water kefir.
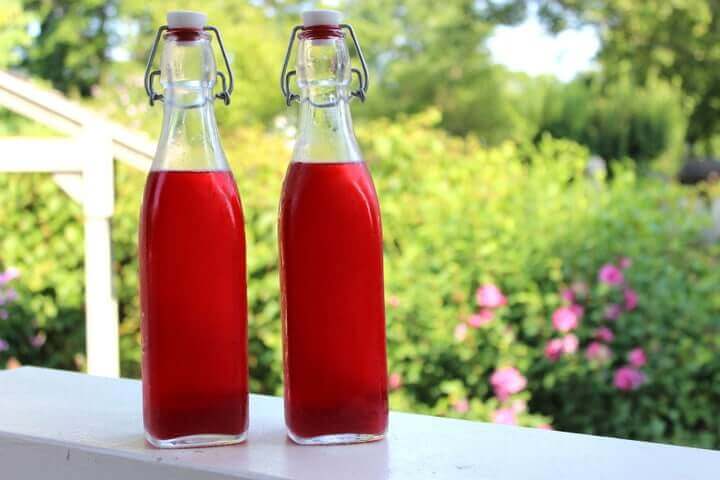
5. Transfer soda to soda bottles via a funnel or glass measuring cup.
6. Keep the soda bottles at room temperature and check every day. The carbonation will dramatically increase. Make sure to open the soda bottles every day to let the gasses escape. After a few days you can transfer the bottles to the fridge where the fermentation will slow down.
7. Enjoy!
About Craig Fear
Craig Fear is a certified Nutritional Therapy Practitioner (NTP) and real food blogger. He lives in Northampton, MA where he works with clients around digestive health issues. In addition to The Thai Soup Secret, he is also the author of The 30-Day Heartburn Solution. You can connect with Craig over on his blog, Fearless Eating, and on Facebook.